by
by 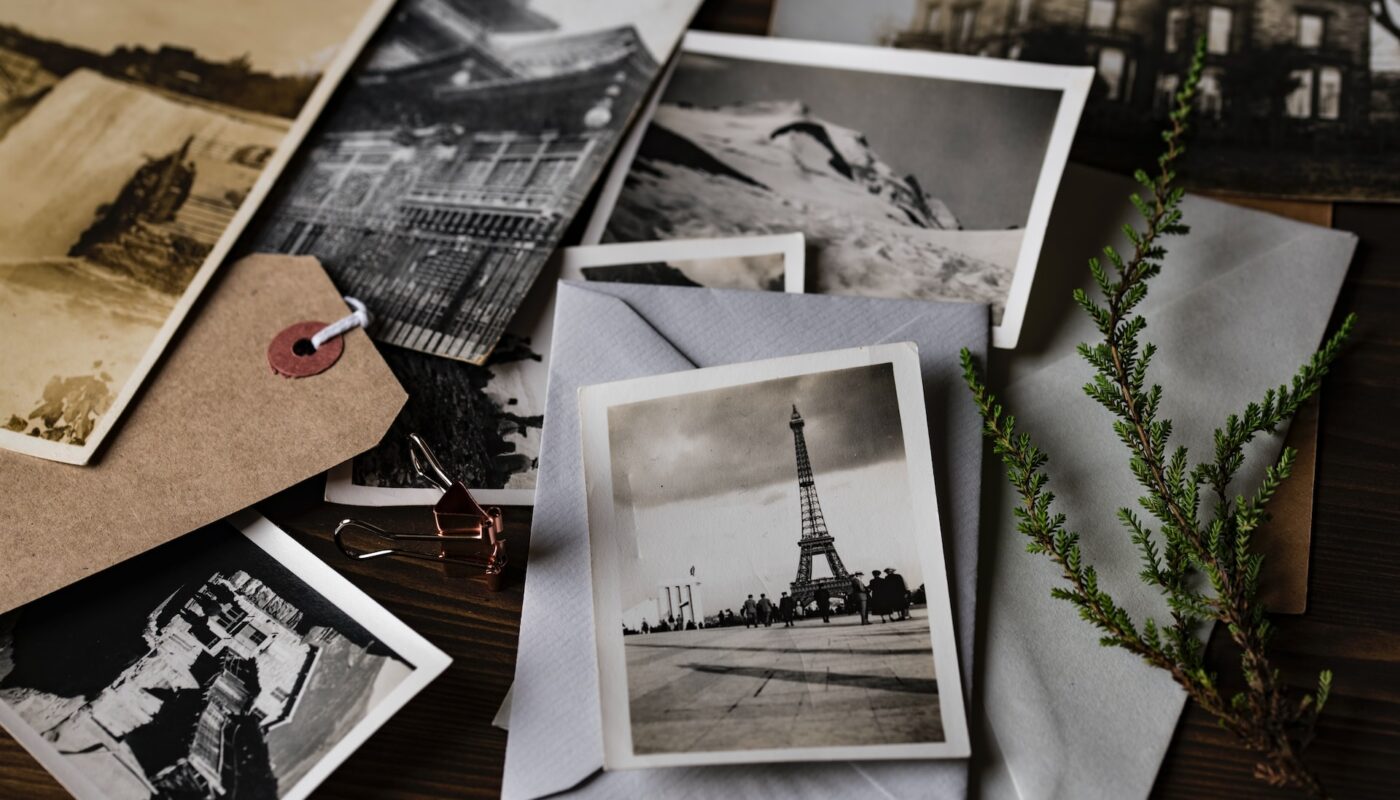
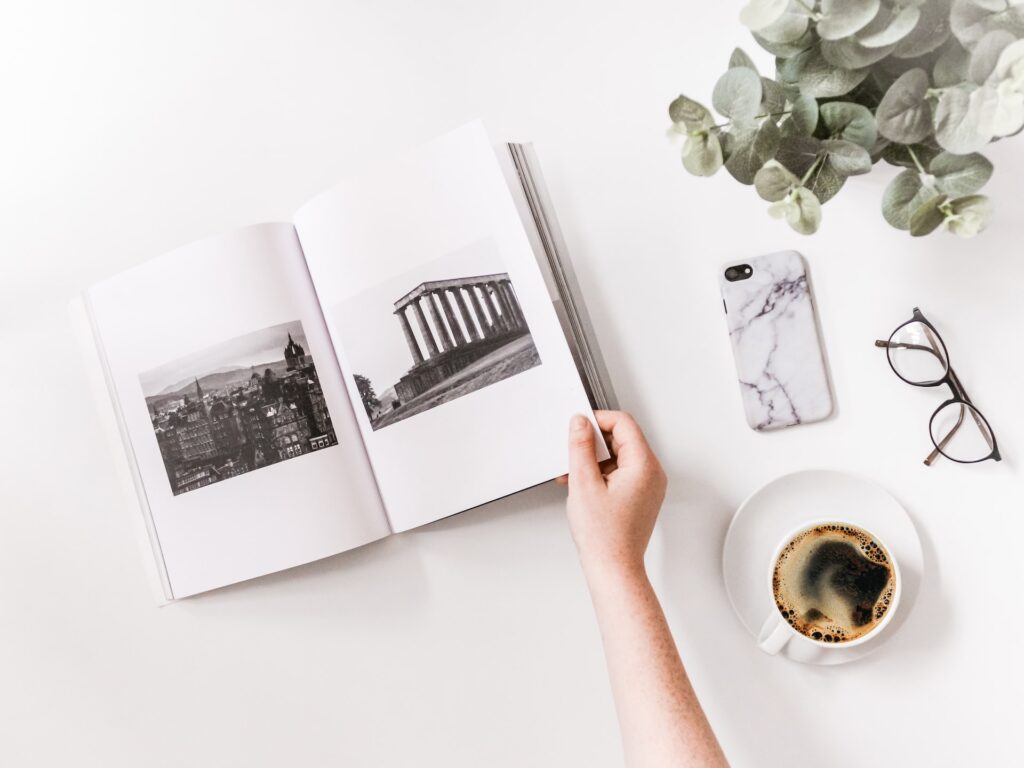
Do you have a collection of gorgeous photos that you’d love to share? Creating a beautiful photo book can be overwhelming, but with the right tips, it’s not as hard as it seems. You could transform your snapshots into something spectacular and memorable – a showstopper! Here’s how.
Page Contents
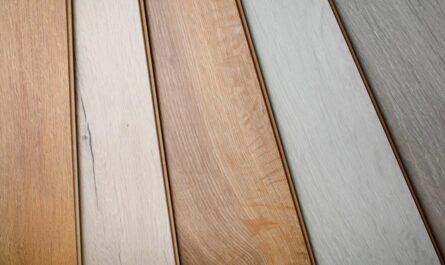
Choosing the Right Photo Book Type
The type of photo book you choose depends on the photos and text you plan to include. Some popular options include:
- Softcover Photo Books – These economical, lightweight books offer full bleed 6×6 or 8×8 pages printed on archival quality stock with an optional laminate finish. They’re perfect for casual projects like family gatherings or vacations.
- Hardcover – Hardcover books offer a more polished look and feel while they show off your best images in stunning HD color fidelity. Choose from various sizes and lens effects such as sewn binding, glossy lamination, and die-cutting options that create unique looks for your book cover or hot foil stamping for added flair.
- Layflat – These truly luxurious designs feature seamless page spreads, handgrip covers with ample protection against dirt and grime, gorgeous ultra-thick glossy pages designed especially to resist age, beautiful inkjet printing technology that produces bright colors with sharp details clarity, acid-free cover sheets that avoid discoloration over time, plus lay flat page binding so you can open the book fully without any of the annoying gutter effect. Perfect for wedding albums!
- Binders & Notebooks – Different from traditional books (which feature rigid spines), binders let you quickly add pages whenever life throws new exciting moments at you! They also work wonderfully as notebooks where pages are organized by paper size versus having fixed limits like in a hardcover book. Choose from stylish ring binder styles including customizable widgets – helpful tools where photos and text can be rearranged in whatever way best suits the project!
Selecting the Right Pictures
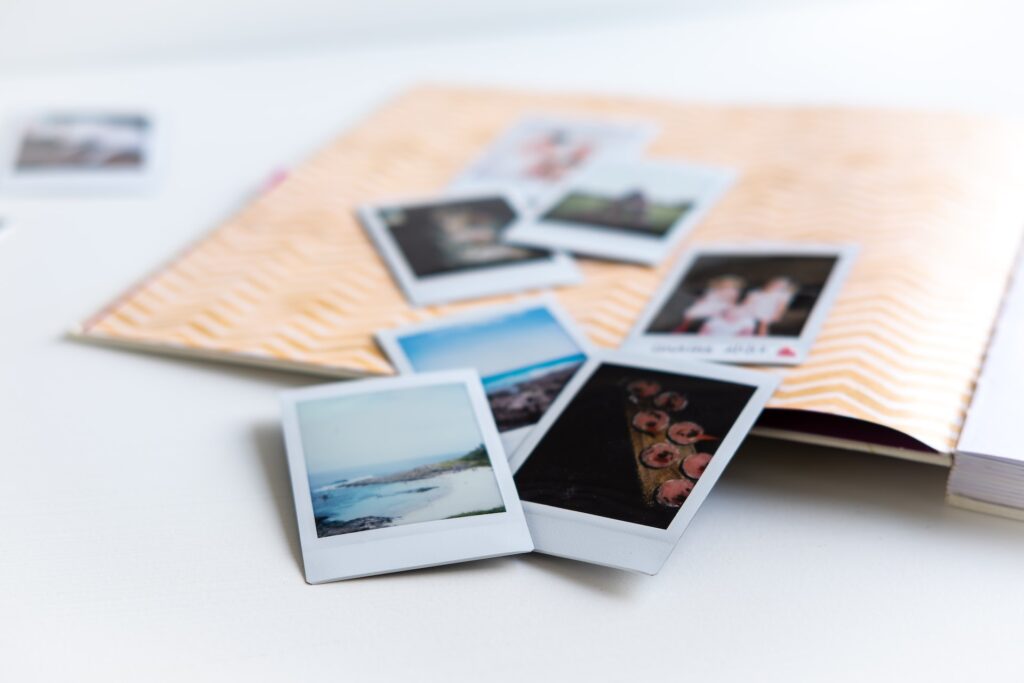
Selecting the right pictures for your photo book is an important part of the creative process. After all, these images will make or break your photo book and ensure it looks its best. When selecting photos, remember to focus on quality over quantity, as it’s better to have fewer high-quality images than lots of low-quality ones.
To give your photo book an aesthetically pleasing look, choose a range of pictures in different sizes and orientations that are visually interesting, full of detail, and have strong contrast. Your selection should also be diverse in terms of subject matter; try to include shots that showcase people, nature, and things (i.e., urban scenes). Additionally, pick out a few personal favorites that can be displayed prominently at the beginning or end of your book to add a special touch.
Once you’ve chosen your pictures, it’s important to check their color accuracy and sharpness before you start putting together your book. Make sure any edges are crisp and that there are no nasty surprises like an unexpected gray border or lens flare in the final prints. If necessary, carry out some basic retouching with imaging software to ensure all images look their best before you commit them for printing in a book format.
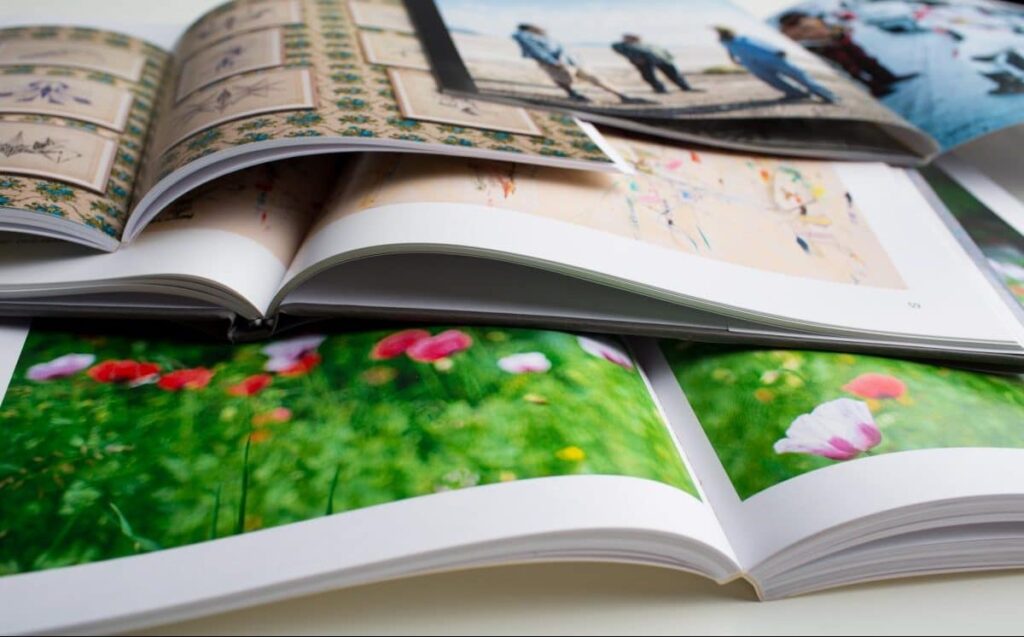
Choosing a Layout
Layouts can range from traditional single pages to interactive collages. Choosing a layout that reflects the personality and vibrancy of the photos you’re sharing is the key to making sure your photo book stands out from the competition.
Some other important factors when it comes to choosing a layout include:
- number of photos per page
- size and placement of text captions
- how much white space do you want on each page
It’s also nice to have some variety in your layouts so that no two pages look exactly alike.
If you’re feeling stuck or need some guidance, there are plenty of websites offering premade templates that you can tweak and customize for your project. You could even try looking at similar projects online or in magazines for layout inspiration. Once you take into account all these considerations and start getting creative, your beautiful photo book will be ready to show off in no time!
Editing and Retouching
When creating a photo book, it is important to get the best quality results, which involve more than just selecting the perfect photos. Photo editing and retouching can help your pics look they’re very best in print. Professional retouching services are available for large projects, yet doing it yourself can be a fun way to experiment with your images and add that custom touch. Here are some tips for using editing and retouching software tools to make sure your photo book prints look stunning:
-
- Choose high-resolution images as this will ensure the highest quality prints.
- Know what type of camera your photos were taken on – whether digital or film – so you know what level of editing you’ll need.
- Open up each file in an editing program so you can adjust brightness, contrast, and other aspects of the image before printing.
- For technical detail such as color correcting or fill light effects that are beyond basic adjustments try software like Adobe Lightroom or Capture One Pro.
- Think about cropping photos or combining them with other images for a more dynamic effect; feel free to experiment!
- Retouch any minor details such as blemishes, dust spots, and scratches before submitting images for print; use cloning tools carefully so details don’t look fuzzy when resized.
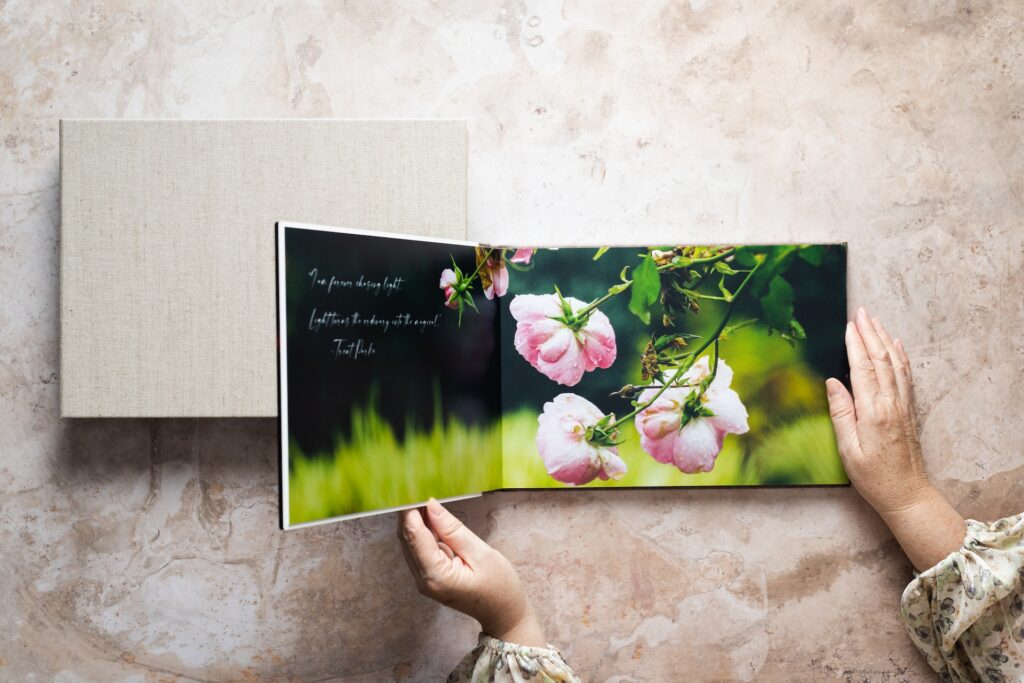
Finishing Touches
When you’ve finished assembling the pages of your photo book and are happy with how it looks, it’s time to add the finishing touches. These small details can give your book a polished look and bring everything together.
To really make your photos pop, consider using a variety of interesting fonts for your titles. You can also sprinkle in some embellishments, like stickers or cutouts, to create a unique look. If you have more than one picture on a page, try using fun frames or borders to add visual interest.
For extra impact, choose special finishing options such as glossy pages or embossed covers. A durable binding is important if you’re planning on displaying your book on the coffee table or sharing it with others often. A high-end professional image printer can provide archival-quality prints that will last for many years and ensure that your photos remain vibrant for generations to come.
Once you’ve finalized everything with your chosen printing service, all that’s left is to enjoy the finished product! Show off your beautiful photo book with pride!
Conclusion
Creating a custom photo book can be a great way to showcase your favorite memories, preserve special events, and make a truly unique gift. With the right photos, the perfect layout template, and an eye for design, you can create a work of art that will last for years.