by
by 
This tutorial will guide you on the topic – How to Create a Contact Form in WordPress.
Contact form 7 is the most popular WordPress plugin that has over 5 million active installations. This guide is part of chapter 5 and in this guide, we will discuss contact form settings.
You can read all the step-by-step instructions to easily set up contact form 7 on your website. Every business website needs a contact page so that advertisers, clients, or any other individual or company can easily contact the business.
For blogs, the contact page is important for various purposes. So, we suggest you install contact form 7 because it is easy to use, provides a better user interface, and, anyone can easily contact you.
Let’s start with this guide. Starting reading our guide on How to create a contact form in WordPress using the contact form 7 plugin.
Contact Form 7 Settings – How to create a contact form in WordPress
1. Go to the plugins and then you have to click on add new.
2. Search for contact form 7 or click on the popular plugins to find it easily and then Install and activate the contact form 7 plugin.
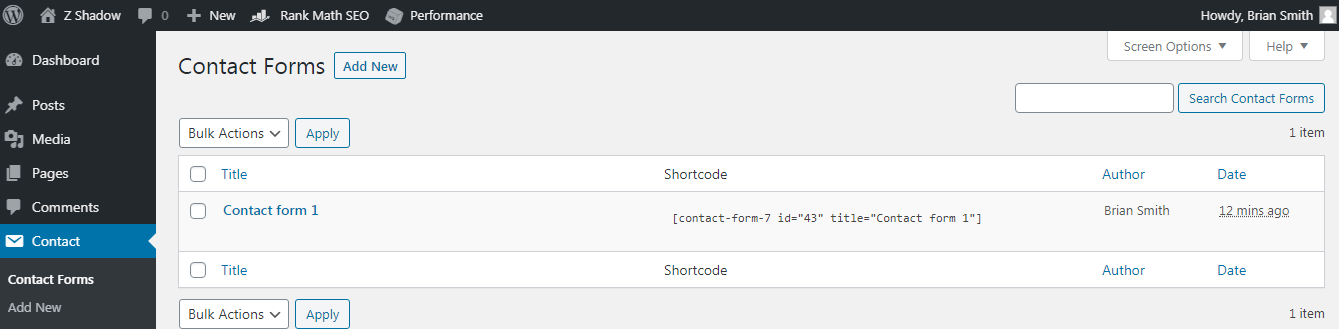
3. Open the settings of the contact form 7 plugin by clicking on the settings button.
4. Now, you will see a contact form is already created by default. You have to click on the edit button to edit the contact form settings so that it can work properly.
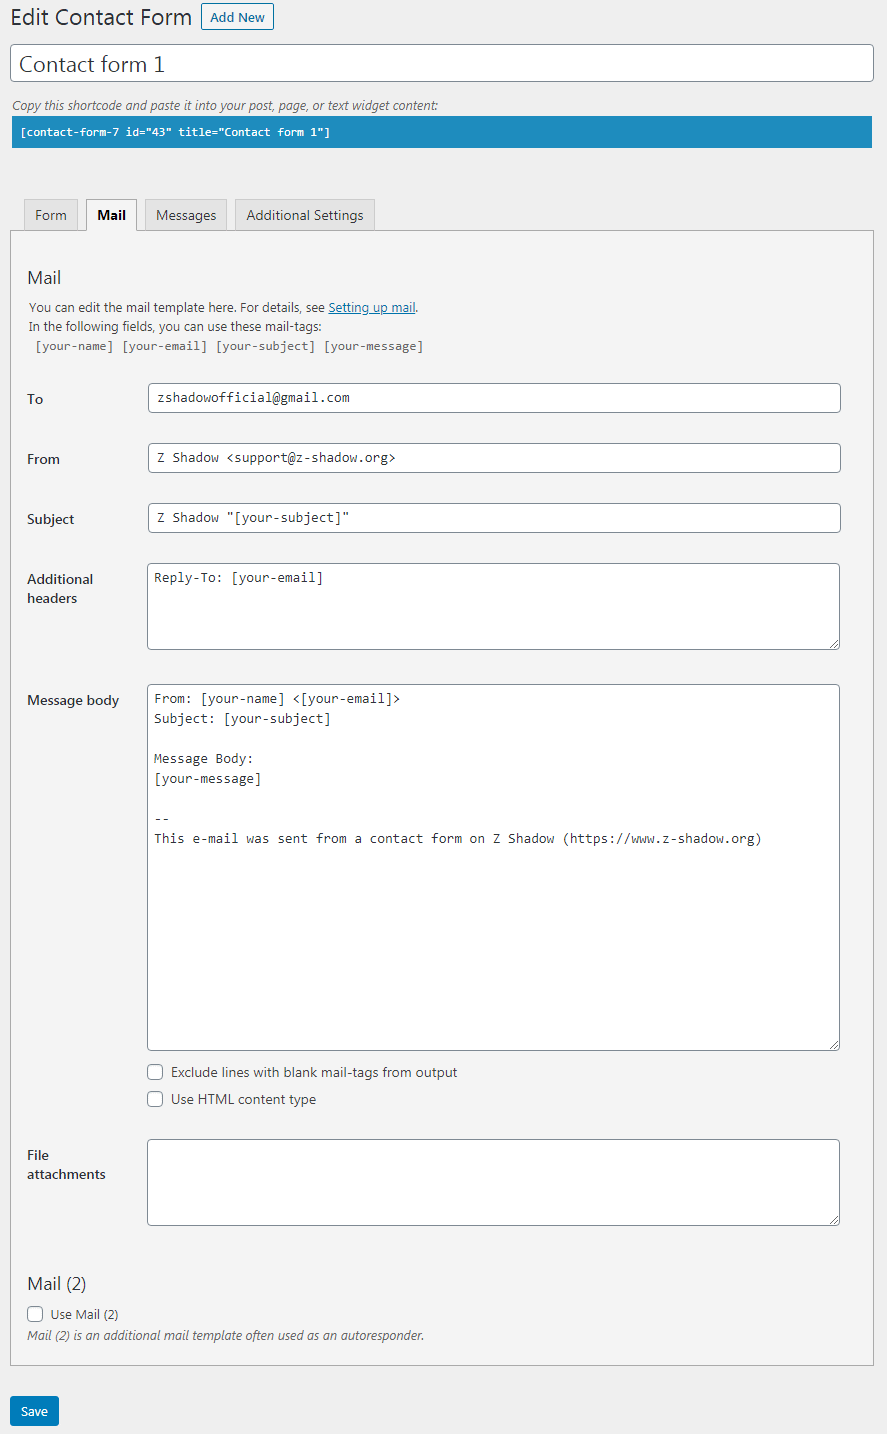
5. In the contact form 7 settings, click on the mail and then you need to change only two settings. You have to write the correct email address in these two options: TO and FROM. In the first option (TO) you have to change the email address and type the email address where you want to receive all the mail if someone contacted you using the contact form 7. In the second option (FROM) you have to write the official email address of your website. Example – [email protected]. Now, click on save.
Now all settings are done. You do not need to change any other settings because they are already correct. You can see the below image if you find any difficulty in the contact form 7 settings. If you do not have an email like [email protected] then you can create it by going to your cPanel (if you are using a shared hosting plan from sites like Bluehost). You can see the steps that we have mentioned below to set up a business email account.
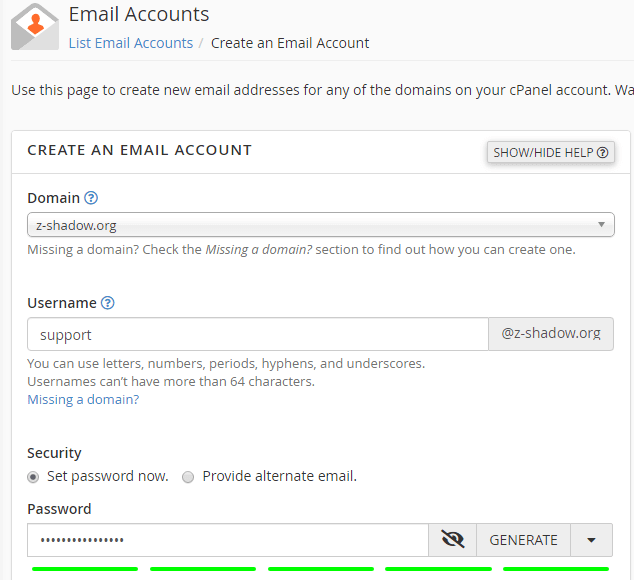
6. Open your web hosting cPanel. You will see the option email accounts. Click on that.

7. Now, create a business account for your domain. Select the domain, type the username, and set the password. After that click on the create account. Now, your business email is ready and you can enter this email address in the contact form 7 settings (see the above image for reference).
Steps to Publish a Contact Form Page using Contact form 7 Plugin
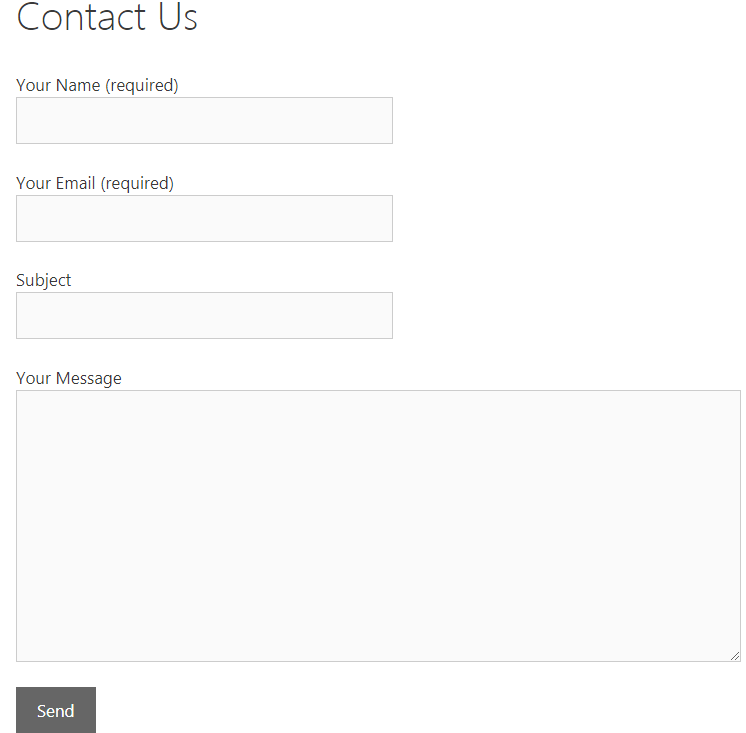
1. Open the contact form and copy the shortcode.

2. Now, go to pages and click on add new. Give a name to your contact page and then paste the shortcode. Click on publish. The contact form 7 page is now ready.
Final Words
If you are running a blog or any other type of business on the WordPress platform then a contact form is necessary to receive emails from clients and users for various purposes such as feedback, service improvement tips, business queries, etc.
This tutorial post on How to Create a Contact Form in WordPress has already covered all the steps required in creating a contact form in WordPress. So, follow all the steps written in this tutorial to create your website contact form page.
See Also:
- How to optimize the WordPress website for better performance and speed (Important for SEO)
- Free blogging tools that you should know as a Blogger to reduce your expenses
- How to do Keyword Research to generating traffic from search engines
- 4 Best social media websites that you can use to generate decent traffic to your website or You can use it for business purpose