by
by 
Chapter 2 – This is chapter number 2 of our free blogging course from Basic to advance. In this tutorial, we will discuss how to setup a Cloudflare free SSL certificate for a WordPress blog, best settings for Cloudflare, and Cloudflare page rules.
But before starting this chapter we would recommend you read chapter 1 If you are a beginner and thinking to start a blog.
Many web hosting companies like Bluehost, etc provides a free SSL certificate. But we will suggest you use Cloudflare free SSL certificate if you do not have an SSL certificate because it is free and improves the speed, performance, and security of the website. You can read this guide to know why Cloudflare is best and most of the blogs/websites on the Internet are using it.
If you are thinking to get Cloudflare free SSL certificate then we would suggest you Install this certificate before Installing WordPress. But if you have already a live website then you can also install it. There is no problem in Installing this certificate before or after the WordPress Installation.
Page Contents
What is Cloudflare
Cloudflare is a company that provides global CDN services, free and paid SSL certificates plans, DDoS attack mitigation, Enhanced security with Web Application Firewall (WAF), and many other features. Cloudflare free plan is also good for website speed, security, and performance.
Features
- Free and Paid SSL certificates
- DDoS attack mitigation
- Lossless image optimization
- Global Content Delivery Network (CDN)
- More security to a WordPress website, Enhanced security with Web Application Firewall (WAF)
- It also enables Automatic mobile optimization
- Role-based account access
- It offers Prioritized IP ranges
- CNAME set-up compatibility
How to Setup a Cloudflare Free SSL
Let’s discuss how a beginner can set up a Cloudflare free SSL certificate. This is the complete guide and we will show you step by step instructions and best settings for Cloudflare.
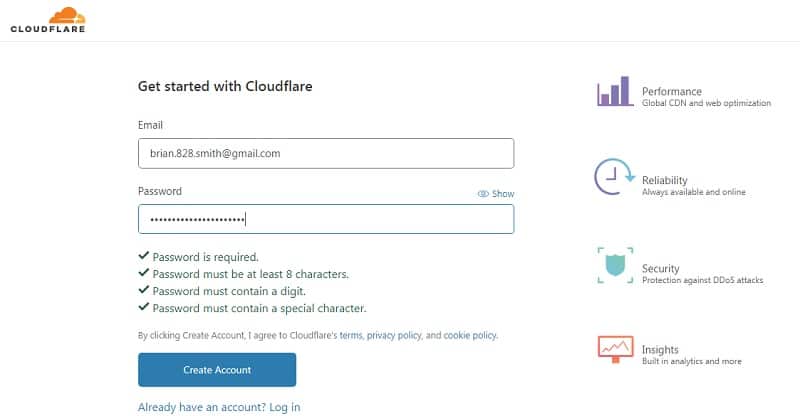
1. If you don’t have an account on Cloudflare then click on the signup button to create an account on Cloudflare. Enter your email address and type the password then click on the create account button.
2. Add a website to Cloudflare. Type the URL of the website and click on the Add Site button.

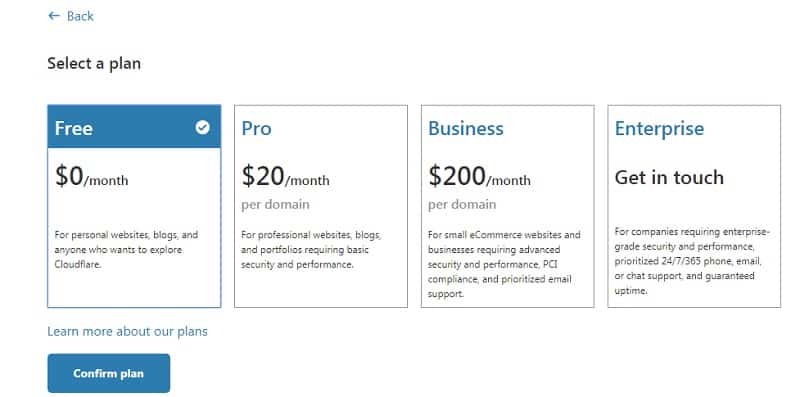
3. Select a plan that meets your requirement. We use a Cloudflare free plan. For bloggers, a free plan is enough. Select a free plan and then click on confirm plan.
4. Now, on your screen, you will see review your DNS records. You just need to scroll down and click on continue.

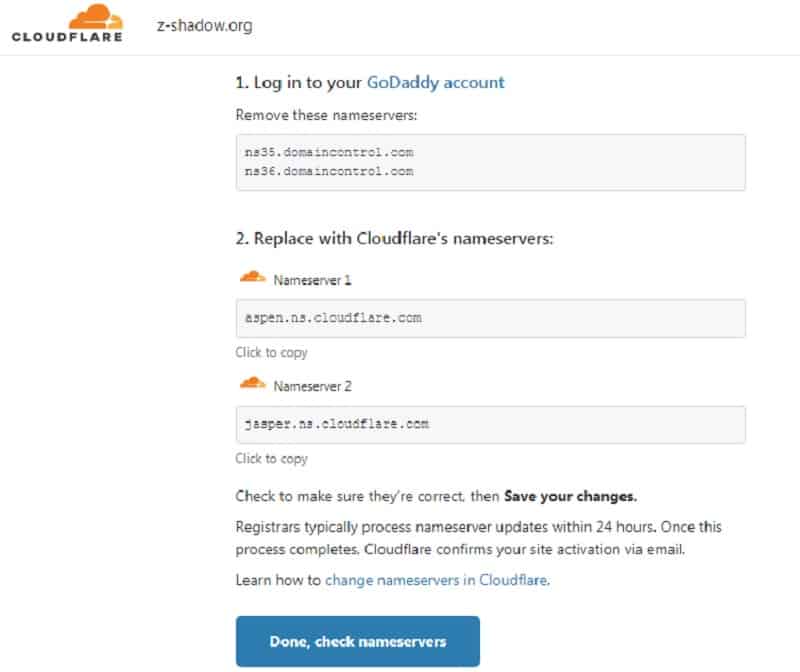
5. Now, we have to change domain nameservers. In the below image you can see Godaddy account nameservers because this domain is registered with Godaddy and you can see Cloudflare nameservers below the Godaddy nameservers.
We need to replace the Godaddy nameservers with Cloudflare nameservers. Just read the steps to do it easily.
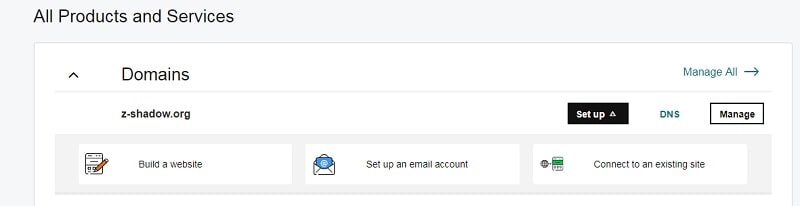
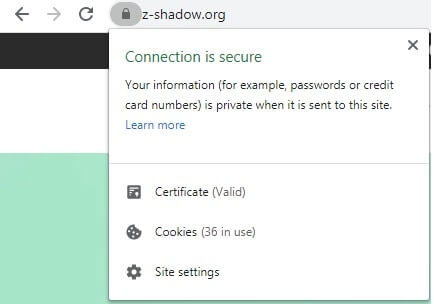
6. We bought a domain name z-shadow.org from Godaddy. So, we have to log in to our Godaddy account. If you bought from any other company then login to your account.
In GoDaddy, click on my products and then you will see the DNS option. Click on the DNS.
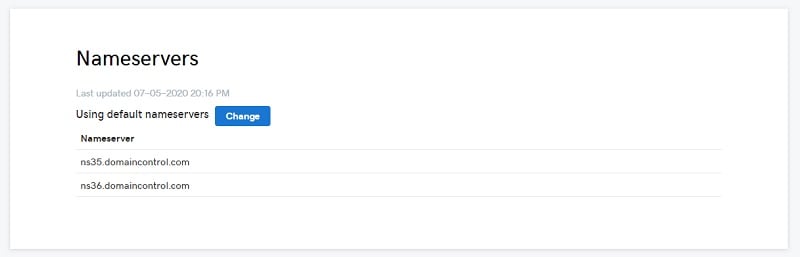
7. In the image below, We have to replace the nameservers of Godaddy with Cloudflare nameservers. Click on the change button.
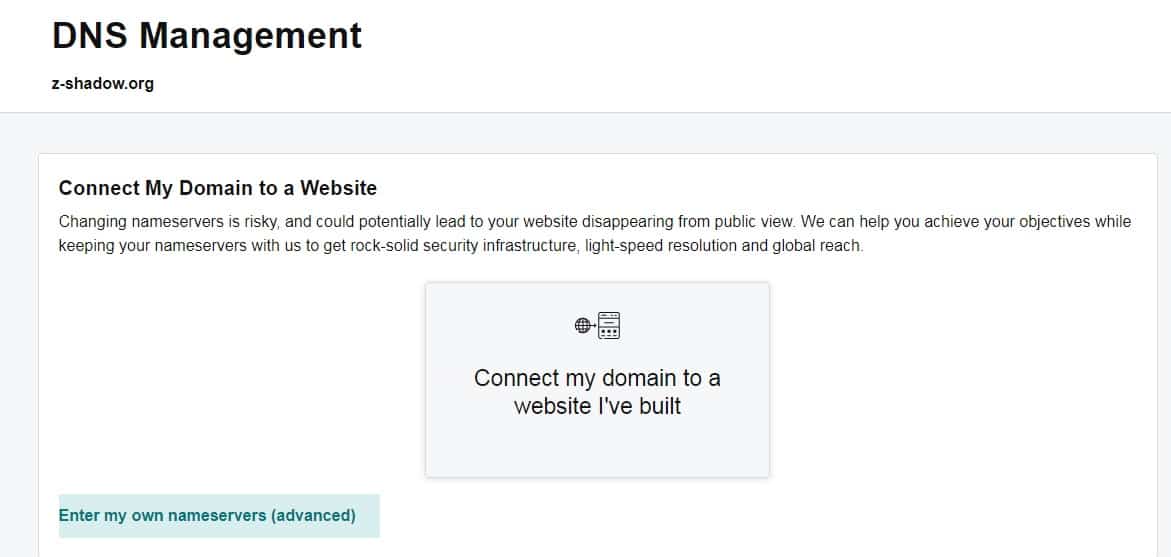
8. Now, click on enter my own nameservers.
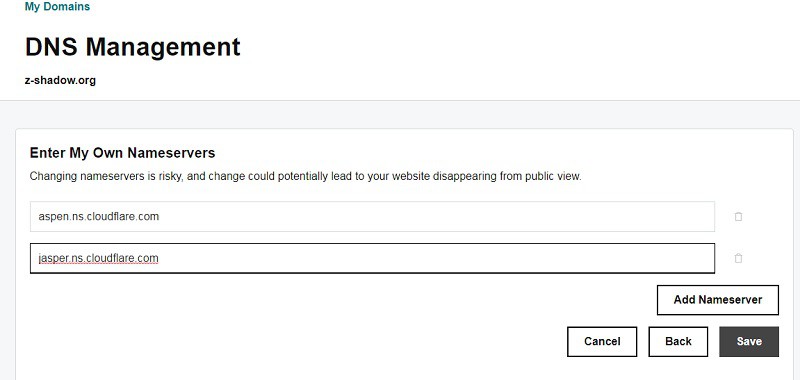
9. Paste the Cloudflare nameserver 1 and nameserver 2 in the place of Godaddy custom Nameserver 1 and nameserver 2 and then click on save.
10. Now, open Cloudflare and click on Done, check nameservers button.
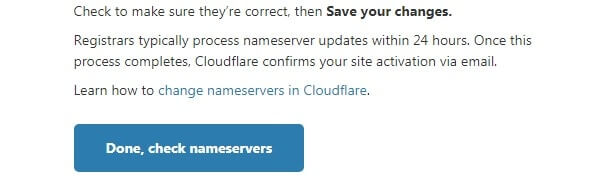
Nameservers updates may take a few minutes. Sometimes, it takes more than an hour. That’s it, we have successfully setup a Cloudflare free SSL certificate. You can see the below image, Cloudflare free SSL certificate is now active.
Note: We bought this domain to show this tutorial, we choose Godaddy because it is the largest domain name registrar. So, to help most of the people we choose to register with this company.
Otherwise, we always recommend siteground because of great customer support, excellent speed, outstanding performance, inbuilt cache, and super secure.
Now let’s see Cloudflare Important settings.
Cloudflare Important settings
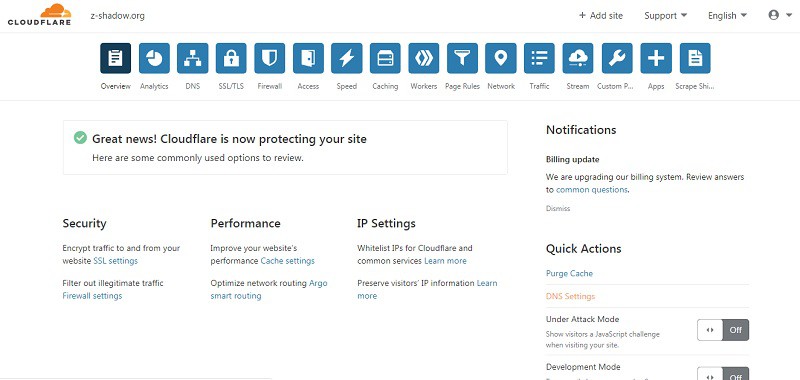
1. When you open your Cloudflare account after updating the nameservers. The dashboard will look like this in the image below. You can see our demo website z-shadow.org is now active. Now, the next step is to change some settings to get better results.
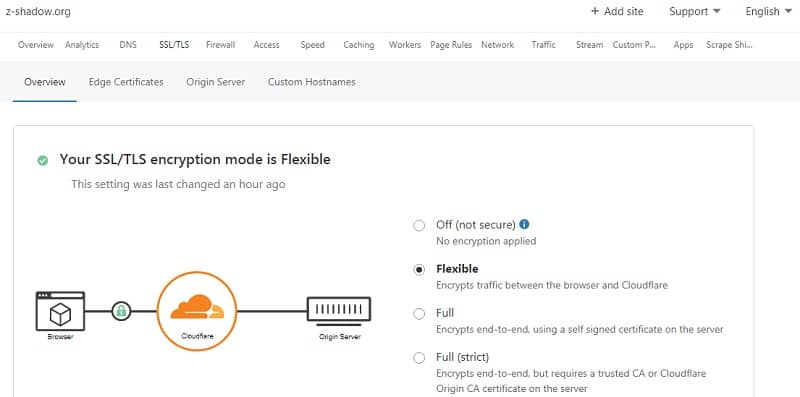
2. Click on SSL/TLS and then click on Flexible.
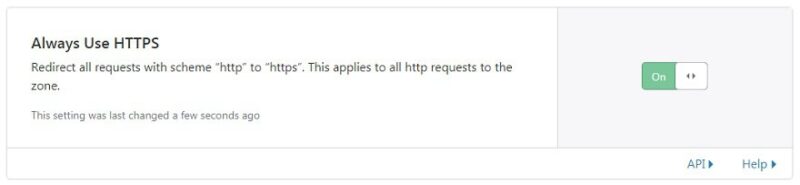
3. Now, click on edge certificates and scroll down. Then, you will see an option Always use HTTPS. Turn on Always use HTTPS. Scroll down and check Automatic HTTPS Rewrites is turn on or not. If this option is off in your settings then turned it on.
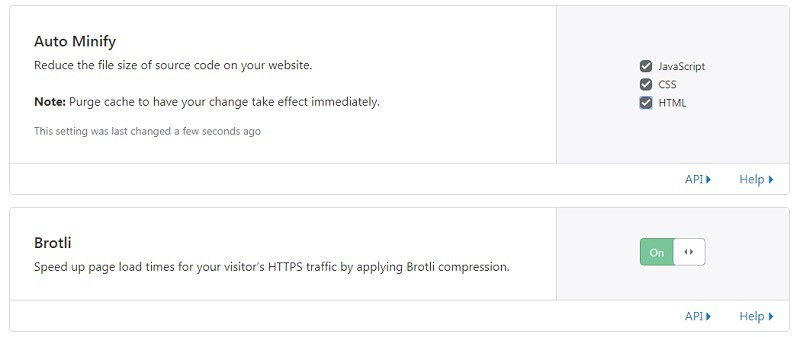
4. Now, click on the speed (at the top menu). Then, click on optimization and scroll down. You will see Auto minify in that, Tick mark on javascript, CSS, and HTML and make sure that Brotli is turned on. Scroll down your screen and turn on the rocket loader. By default, it is off. It will speed up your website. So, it is an important setting for the speed of your WordPress website.
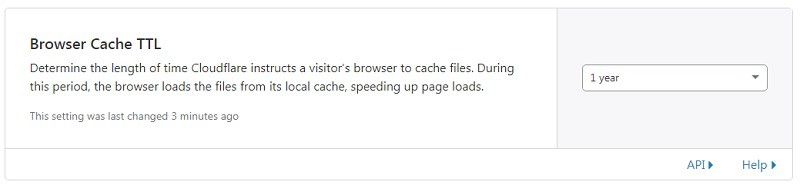
5. Now click on caching (at the top menu) and then scroll down. You will see an option browser cache TTL. By default, it is 4 hours. You have to change it to 1 year for better speed.
Now, we have discussed all the important Cloudflare settings. Now the last part we are going to discuss is Cloudflare page rules.
Cloudflare Page Rules
Cloudflare page rules provide you the ability to control how it will work on your domain/URL. Cloudflare provides three free page rules that you can create for your website. But if you want more page rules then you have to pay for that. For a normal blog, 3-page rules are enough. You can follow the same method that we have written below to create a page rule for your website.
3 Best page rules
You can use these three-page rules on your WordPress website for better performance and security. Click on page rules (at the top menu) and then click on create page rule.

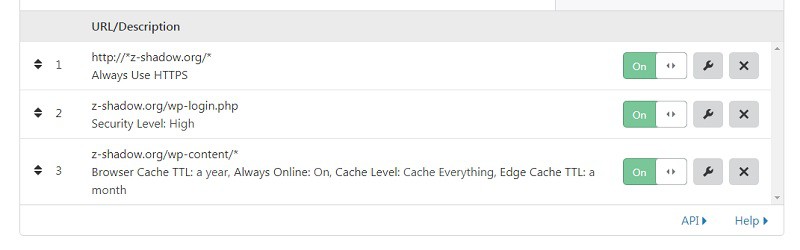
1. Cloudflare Page rule to always use HTTPS
This page rule enforces HTTPS for your website URL. Put this rule at the top.
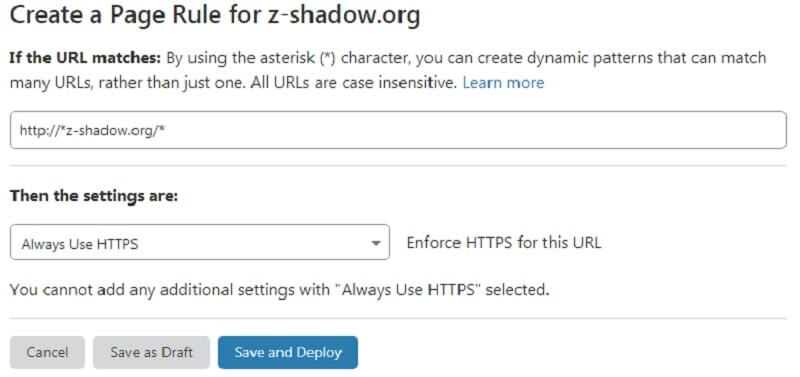
Follow these steps to create this page rule.
- Click on create page rule
- In the box, type the URL of your website (see the above image and don’t forget to replace my domain name with your domain name). Example – http://*z-shadow.org/*
- Now, In the option Then the settings are: You have to pick Always Use HTTPS
- Click on save and deploy
2. Cloudflare page rule for wp-login
This page rule will secure your wp-login.php from brute-force attacks and other malicious attempts. So, for the security of the WordPress website, this page rule is very important.
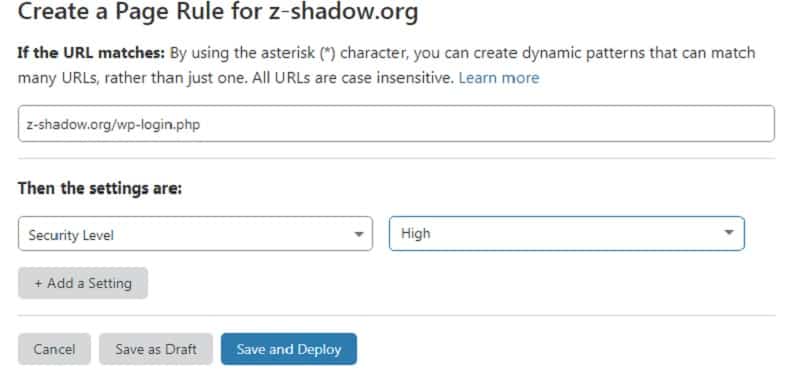
Follow these steps to create this page rule.
- Click on create page rule
- In the box, type the URL of your website (see the above image and don’t forget to replace my domain name with your domain name). Example – z-shadow.org/wp-login
- Now, In the option Then the settings are: You have to pick security level
- Select security level as High
- Click on save and deploy
3. Cloudflare page rule for Browser Cache
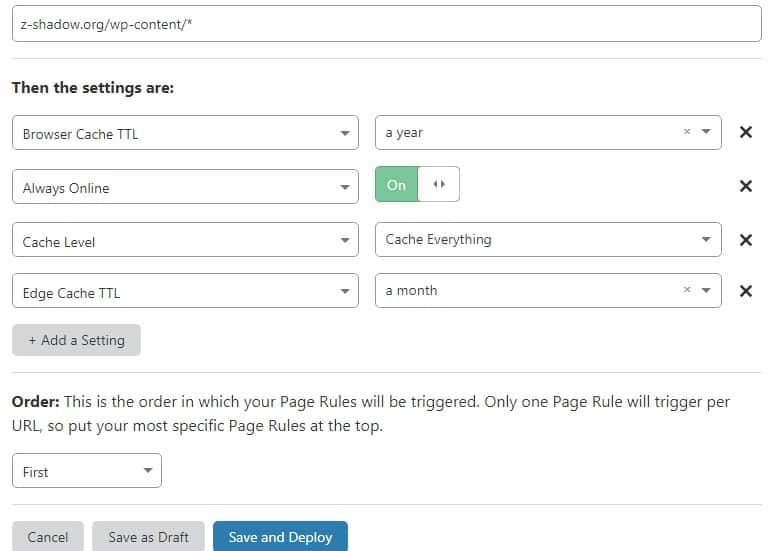
Follow these steps to create this page rule.
- Click on create page rule
- In the box, type the URL of your website (see the above image and don’t forget to replace my domain name with your domain name). Example – z-shadow.org/wp-content/*
- Now, In the option Then the settings are: You have to pick Browser cache TTL and then enter browser cache TTL for a year.
- Again click on add a setting, then pick always online and turn it on.
- Again click on add a setting, then pick cache level and select cache everything
- Again click on add a setting, then pick edge cache TTL and then enter edge cache TTL for a month
- Click on save and deploy
So, this is the end of chapter number 2 – How to setup a free SSL certificate.
FAQ
If you have any questions related to Cloudflare free SSL certificate, how to setup a Cloudflare free SSL, page rules, settings, Cloudflare DNS, or anything in this chapter. You can use our comment box where we will reply to your answer.
What does Cloudflare do?
Cloudflare is a global CDN, it will help to make your website faster, secure, and improve performance. If you do not have a free SSL certificate then you can use Cloudflare free SSL certificate for your website.
Is it free for a lifetime?
Yes, the free plan is free forever.