by
by 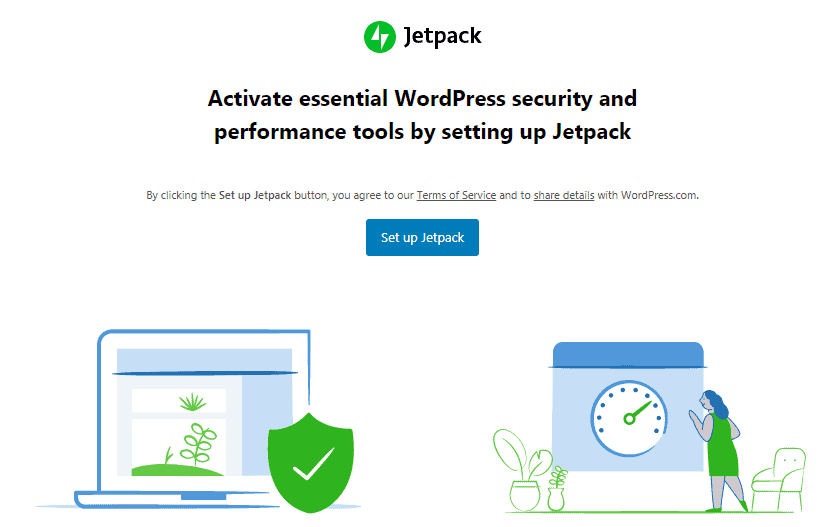
Jetpack is a popular WordPress plugin developed by Automattic. It has over 5 million active installations. In this guide, we are going to discuss on jetpack plugin, jetpack settings, and FAQ. This is the part of chapter 5 of the free blogging course that we have provided on our website.
Page Contents
Jetpack
Jetpack WordPress plugin offers many features like social sharing, related posts, automatic sharing of latest published posts to your website Facebook page, twitter page, Linkedin, Pinterest. It also provides features like security, performance, backup of the entire site, protects from brute-force attacks, prevents unauthorized login attempts, daily page views, monthly & all-time page views, site accelerator tools, and many other features available.
Suggested: Increase your website traffic using proper keyword research with SEMrush (Get 7 days free trail)
Jetpack Settings
1. Click on the add new plugin then search for the jetpack.
2. Install and activate the plugin.
3. Click on the setup jetpack.

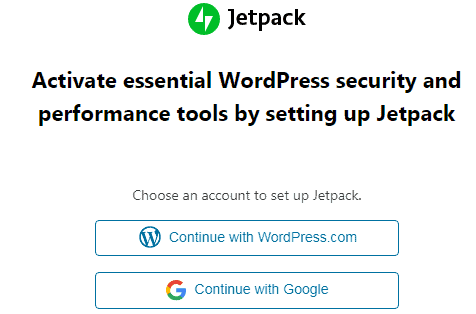
4. To set up the Jetpack plugin for your WordPress website, you can continue with wordpress.com or with your Google account. If you want to continue with wordpress.com then first you have to create an account on wordpress.com but if you already have an account on it then simply click on the continue with wordpress.com.
5. Now, scroll down your screen and click on the start for free.
![]()
6. Jetpack free plan is activated and it is now working on our website. Click on the jetpack and then click on settings. We have to change some important settings so that it works more optimally.
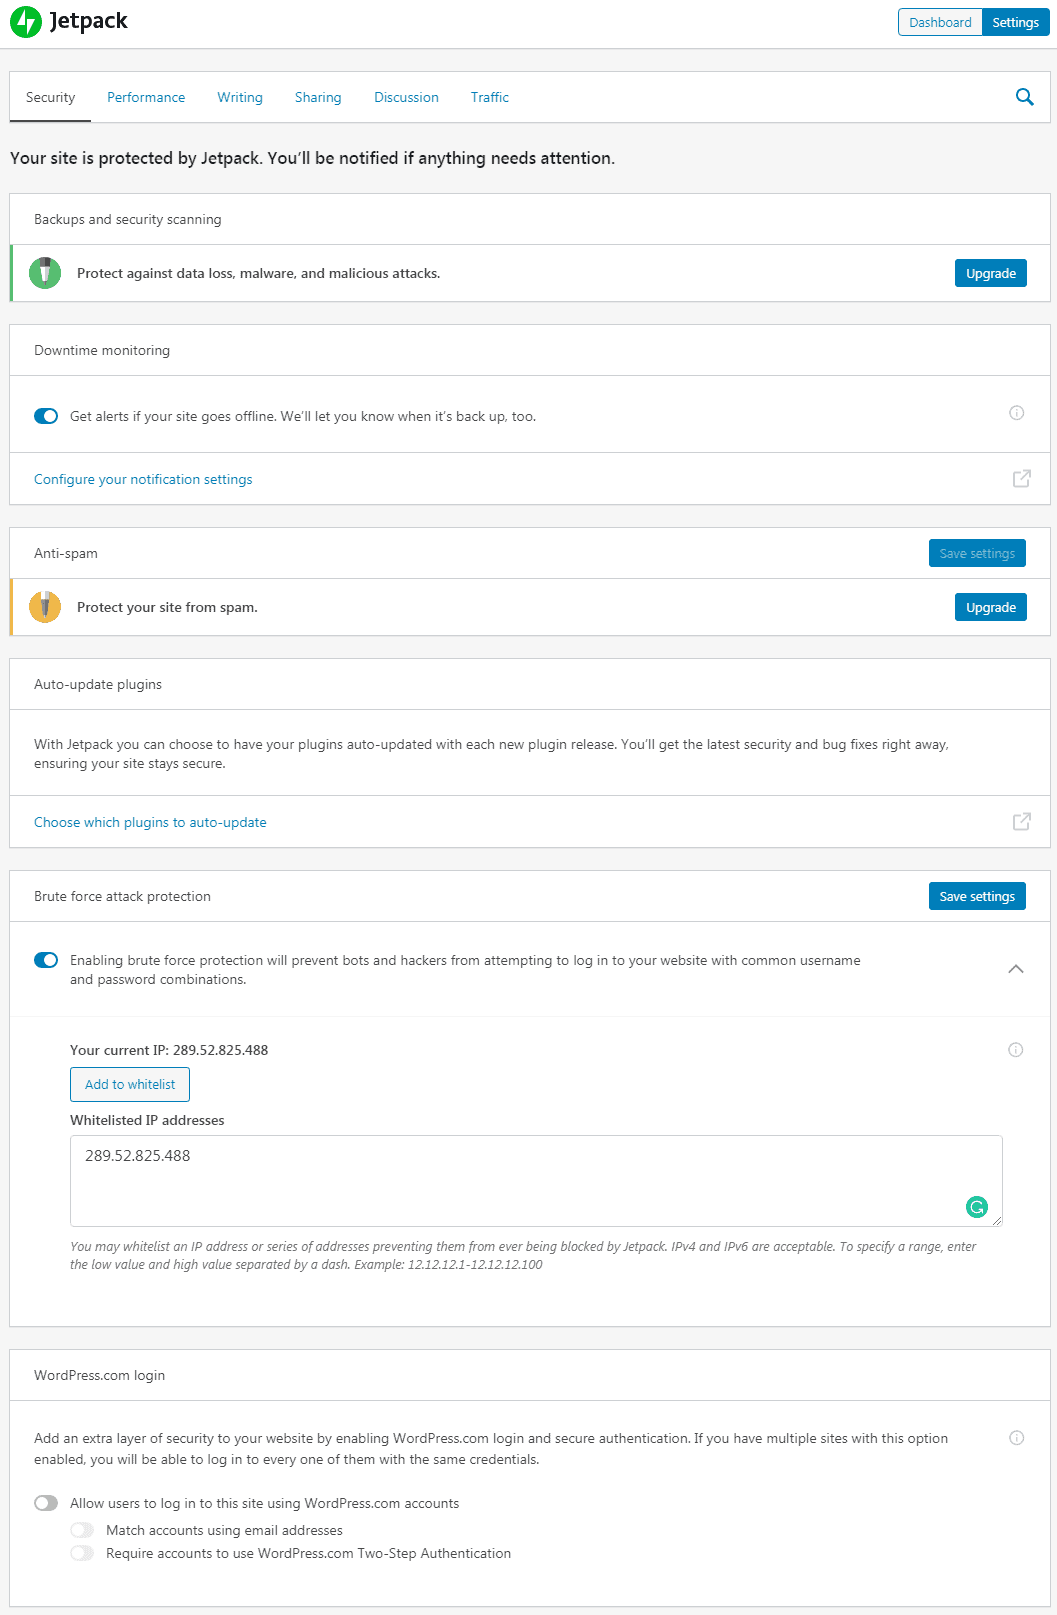
7. In the security option, you have to make three changes.
- Enable downtime monitoring. When your website goes down/offline and users who are visiting your website unable to open it. Then, jetpack will send you an email that your website is down/offline. So, it is a good feature to know when your website goes down, and using this feature you can manage to bring back your website online again. Therefore, We suggest you turn on this option.
- Scroll down your screen and turn on brute force protection. It will prevent you from hacking attempts like brute-force attacks.
- Now, add your IP address in the box (see the image below). We recommend that you enter your IP address in the Whitelisted IP address box as it will not block your IP address If Jetpack has noticed any unusual activity. But if you have not entered your IP address in this box then it may also block you if any unusual activity noticed by the Jetpack plugin.
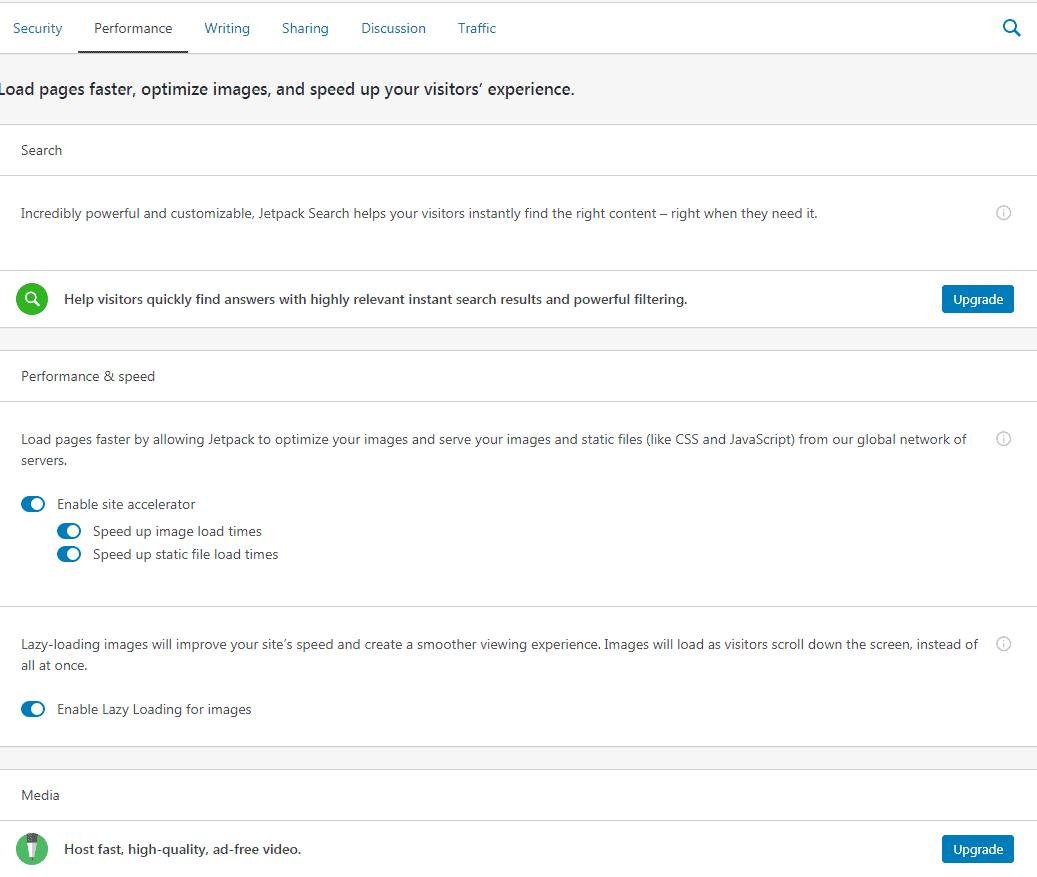
8. In the performance option, You have to turn on 4 features, By default these features are turned off (see the image of proper settings in the image below).
- Enable site accelerator (This will allow jetpack to optimize the images of your website, CSS, and Javascript files to load your website quickly)
- Turn on speed up image load times
- Enable speed up static file load times
- Enable Lazy Loading for images (It will increase the speed, performance, and loading time of your web page. This feature loads image when the user reads your content and images get loaded on scroll down instead of loading all the images at once)
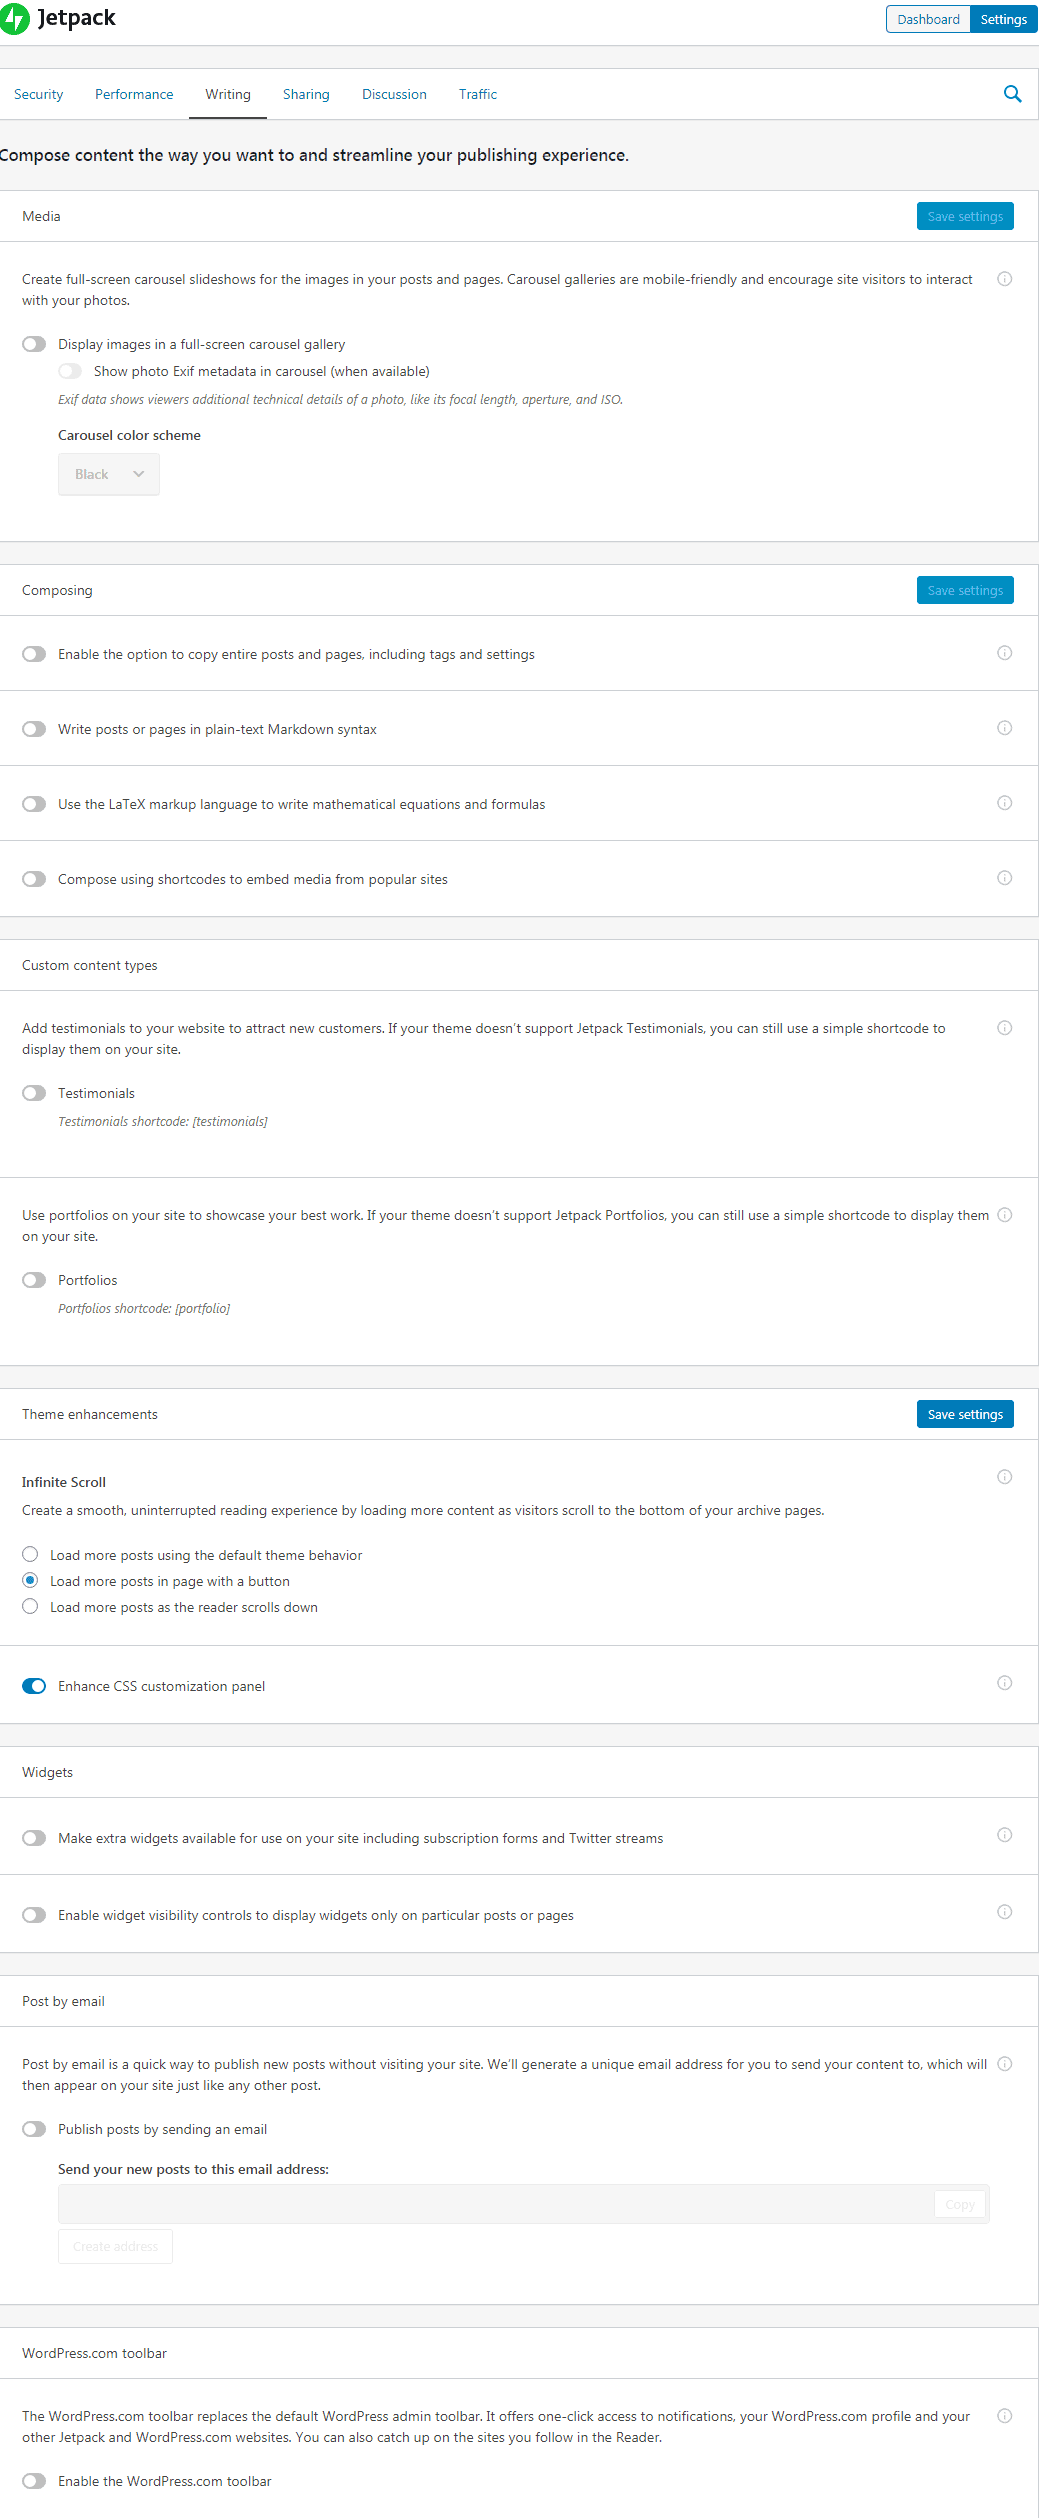
9. In writing options, you do not need to make many changes. You can see the image below and you can do the same settings for your website but if you have different requirements then you can read each setting option and then set it accordingly.
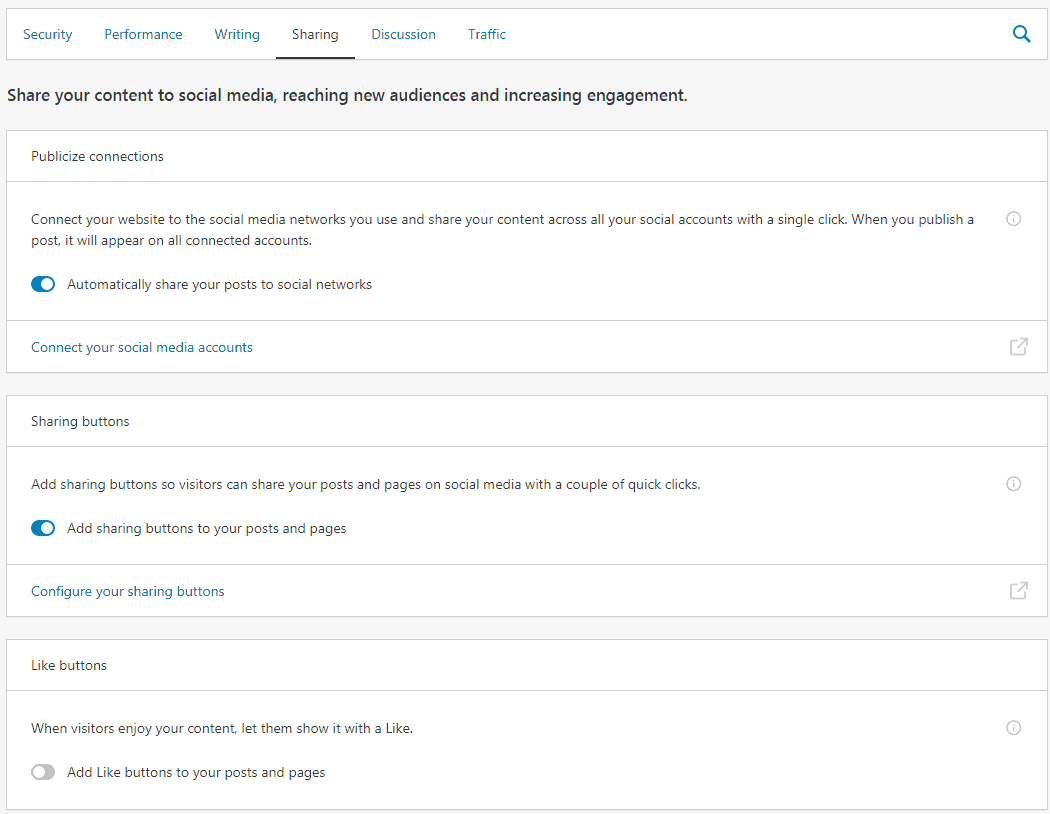
10. In the sharing option, enable the Publicize connections so that all the latest posts that you are going to publish on your website will Automatically share to social profile/pages.
Turn on the sharing button so that users can share your posts on different social media platforms like Facebook, Twitter, Linkedin, Pinterest, etc. You can also enable the like button on your posts but if you don’t like this, then leave it as it is.
Note: If you want to use jetpack automatic post sharing to social media feature then you have to connect your all the social media account with the jetpack. Click on the connect your social media accounts option and then connect your all the accounts.
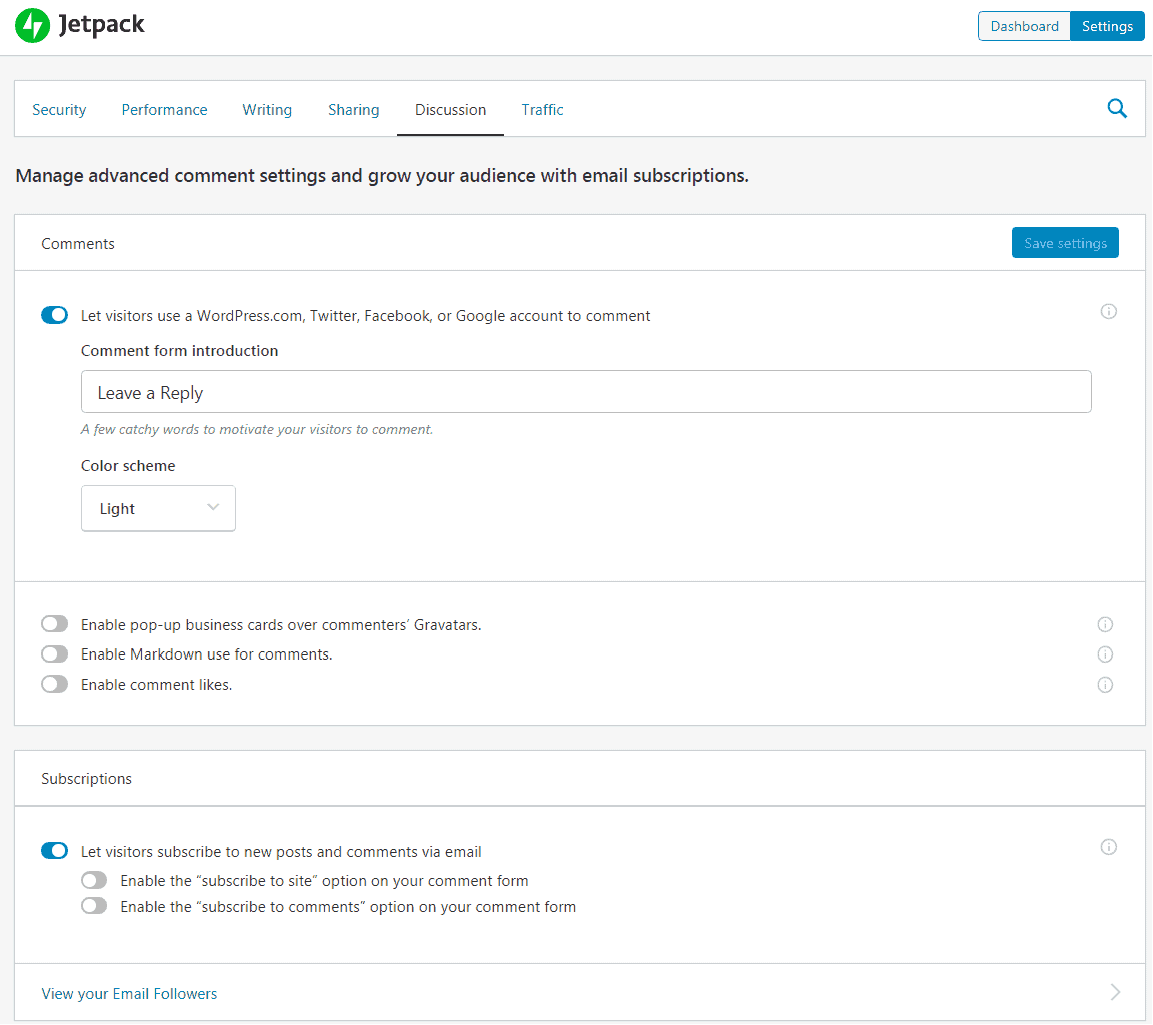
11. In the Discussion option, you can follow the same settings that we have shown in the image below or you can set the settings as per your requirement.
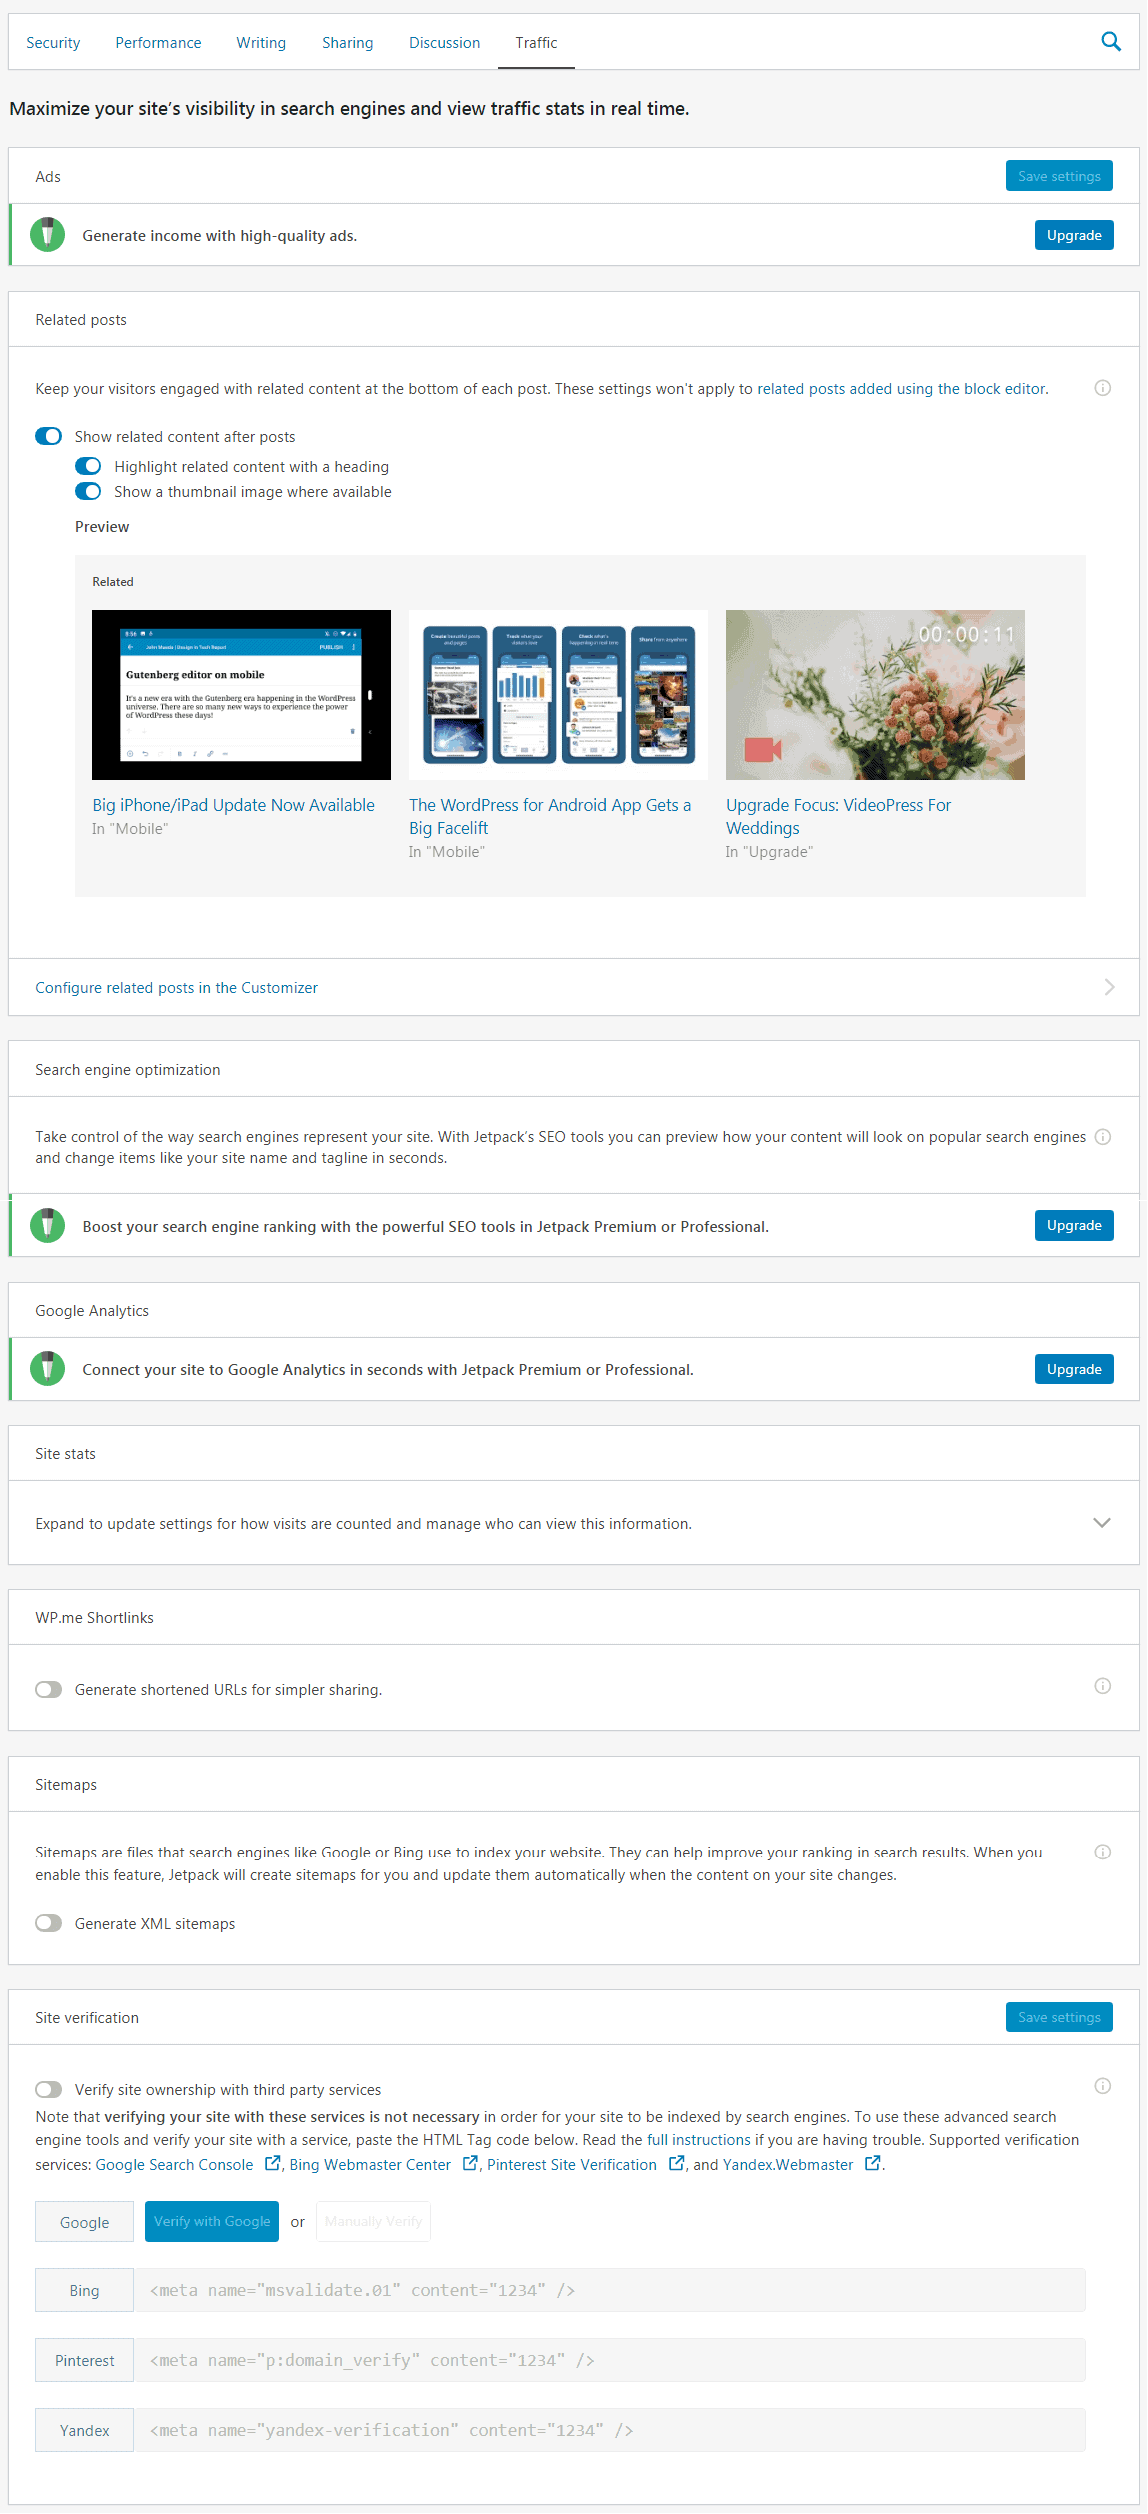
12. In the Traffic option, Enable related content so that visitors can see related content at the end of your post. You can do the same settings in the image. For site verification we prefer Rank Math so you can leave that, Rank Math SEO plugin already does the site verification for Google, Bing, Yandex, etc.
FAQ
Read these FAQ questions and after reading the whole tutorial if you have any doubt you can ask your question in the comments. If you are already using Jetpack then we would be happy to read your opinion on this plugin.
Does Jetpack slow the website page loading speed and performance?
Personally I am not using Jetpack on any website. If you need features like automatic sharing of posts to social media accounts, social sharing buttons, related posts, to check daily page views, etc in a single plugin then you can install it.
Why should I install this plugin?
There are lots of features in this plugin but it is also not that much good for fast loading page speed. If you are using cloud hosting or any other fast VPS hosting then there will be no problem.